

To achieve an effortless shine on your leather shoes, a simple, consistent cleaning routine using the right tools and techniques is key. Gently remove dirt, condition the leather, and buff to a brilliant finish.
Key Takeaways
- Gather essential cleaning supplies for leather shoes.
- Gently remove surface dirt and debris.
- Clean stained leather with appropriate solutions.
- Condition leather to restore moisture and flexibility.
- Polish and buff for a lasting, effortless shine.
- Protect your clean leather shoes from damage.
How to Clean Leather Shoes: Effortless Shine for Lasting Style
Your favorite leather shoes can lose their luster quickly. Dust, mud, and daily wear can make them look dull and tired. Many people think cleaning leather shoes is complicated or requires expensive products. But it doesn’t have to be! With a few simple steps and the right approach, you can restore your leather shoes to their former glory and keep them looking great for years. This guide will show you exactly how to clean leather shoes, making the process easy and effective, even if you’ve never done it before. Let’s get started and bring back that effortless shine!
Why Proper Leather Shoe Cleaning Matters
Leather is a natural material that needs care to stay looking its best. Without regular cleaning and conditioning, leather can dry out, crack, and become permanently damaged. Proper care not only keeps your shoes looking stylish but also extends their lifespan significantly. Think of it as an investment in your footwear. When you know how to clean leather shoes correctly, you save money by not having to replace them as often and ensure they always complement your outfits perfectly. It’s about preserving the quality and beauty of the material.
Essential Tools for Cleaning Leather Shoes
Before you begin, gather the right supplies. Having these on hand will make the cleaning process much smoother and more effective. You don’t need a huge collection; a few key items will suffice for most cleaning tasks. This list covers the basics that most beginners will find helpful for maintaining their leather footwear.
What You’ll Need:
- Soft cloths (microfiber is excellent)
- A soft-bristled brush (an old toothbrush can work in a pinch)
- Leather cleaner (specific to your shoe type)
- Leather conditioner or shoe cream
- Shoe polish (matching your shoe color)
- Water (preferably distilled)
- Newspaper or a protective mat
Having these items ready will ensure you can tackle any cleaning job with confidence. The right tools make all the difference in achieving that desired effortless shine.
Step-by-Step Guide: How Do You Clean Leather Shoes?
Cleaning leather shoes doesn’t require a professional. You can achieve professional-level results with a methodical approach. Follow these steps carefully to bring out the best in your leather footwear.
Step 1: Prepare Your Workspace
Always start by preparing your workspace. Lay down newspaper or a protective mat on a well-ventilated area. This will catch any dirt, dust, or cleaning product residue, making cleanup much easier and protecting your floors or furniture.
Step 2: Remove Loose Dirt and Debris
Using a soft cloth or a soft-bristled brush, gently wipe down the entire surface of the shoe. Focus on removing any loose dirt, dust, or mud. For stubborn dry mud, you might need to let it dry completely and then brush it off. This initial step is crucial for preventing dirt from being ground into the leather during the cleaning process.
Step 3: Deep Cleaning with Leather Cleaner
Dampen a clean, soft cloth with a small amount of water. If your shoes are particularly dirty, it’s time to use a dedicated leather cleaner. Apply a small amount of the cleaner to a separate clean cloth (not directly onto the shoe). Gently wipe down the leather in a circular motion. Work on one section of the shoe at a time. Avoid using harsh soaps or detergents, as these can strip the leather of its natural oils. For very tough stains, you might need a specialized stain remover for leather, but always test it on an inconspicuous area first.
A good leather cleaner will lift dirt and grime without drying out the material. You can find excellent options at most shoe stores or online. Brands like Saddle Soap or products from Lexol are often recommended by shoe care professionals.
Step 4: Condition the Leather
After cleaning, the leather might feel a bit dry. This is where leather conditioner or shoe cream comes in. Apply a small amount of conditioner to a clean cloth and gently massage it into the leather using circular motions. Conditioner replenishes the natural oils in the leather, keeping it supple, preventing cracks, and restoring its natural sheen. Don’t over-apply; a little goes a long way. Allow the conditioner to soak in for at least 15-20 minutes, or as directed by the product. You can also let it sit overnight for deeper conditioning.
The importance of conditioning cannot be overstated. It’s what keeps your leather shoes from becoming brittle and looking worn. For more information on leather care, resources like the USDA’s guide to leather care offer valuable insights into preserving natural materials.
Step 5: Polish for Shine and Protection
Once the conditioner has been absorbed, it’s time for polish. Choose a shoe polish that matches the color of your leather shoes. If you have black shoes, use black polish. For brown shoes, use brown polish. If you want to maintain the natural color or have multi-colored shoes, a neutral polish is a good choice. Apply a small amount of polish to a clean cloth and apply it to the shoe using firm, circular motions. Cover the entire shoe evenly. Allow the polish to dry for a few minutes.
For colored leathers, using the correct polish is vital. A black polish on brown shoes will create a dark, muddled color. Always err on the side of caution and use a shade that closely matches or a neutral polish.
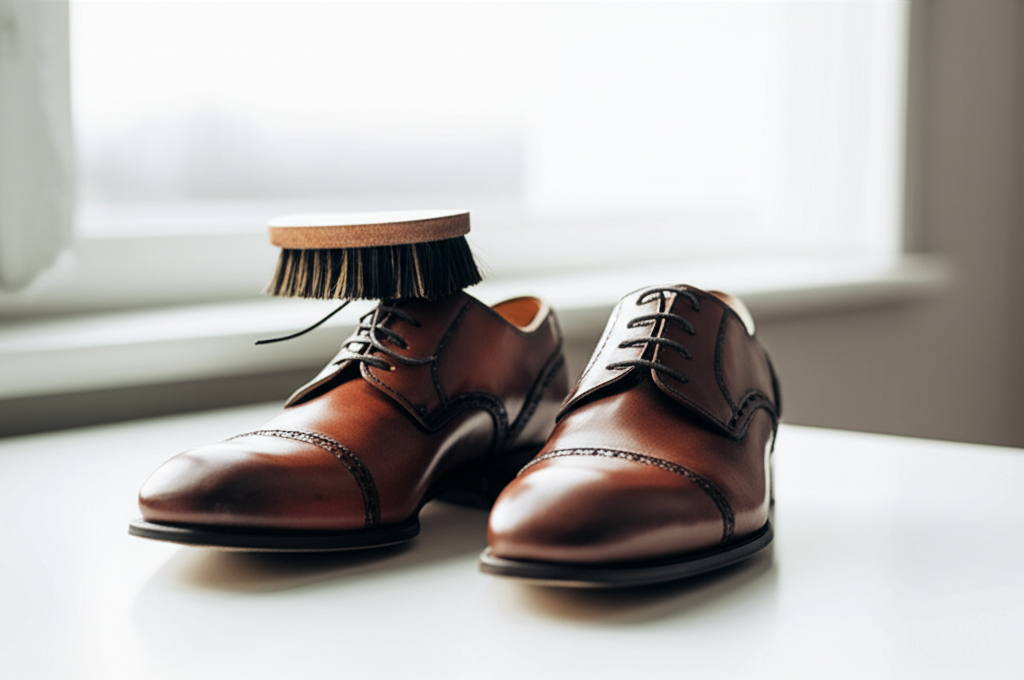
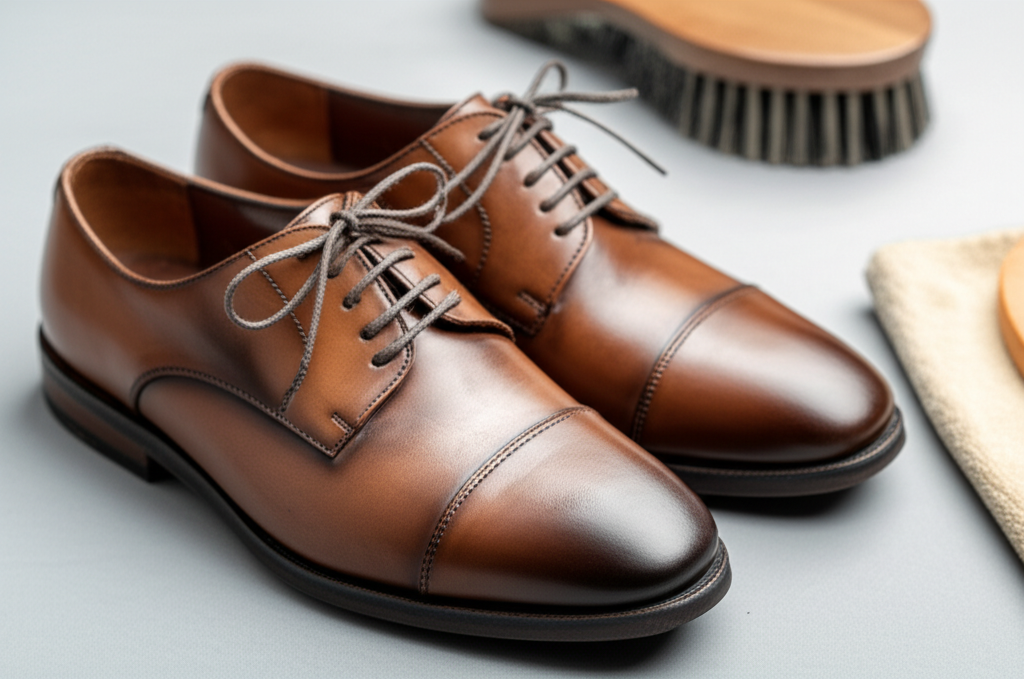
Step 6: Buff to an Effortless Shine
This is the exciting part! Take a clean, dry buffing cloth (microfiber is perfect here) or a horsehair brush. Gently buff the shoes in brisk, circular motions. This friction will bring out the shine in the polish and create that beautiful, effortless finish. Continue buffing until you achieve the desired level of gloss. For an even higher shine, you can apply a second thin layer of polish and buff again.
The act of buffing is what truly makes the polish work and gives your shoes that showroom look. It’s a simple but incredibly effective step.
Step 7: Protect Your Shoes
After cleaning and polishing, consider applying a waterproofing spray or a protective wax. This adds an extra layer of defense against moisture, stains, and scuffs. Ensure the spray is suitable for leather and follow the product’s instructions for application. This step is especially beneficial for shoes you wear frequently or in unpredictable weather.
Types of Leather and Specific Cleaning Needs
Not all leather is created equal, and some types require specialized care. While the basic steps remain similar, understanding the nuances of different leather finishes will help you clean your shoes more effectively and avoid damage.
Smooth Leather
This is the most common type of leather found in dress shoes and many casual styles. It has a smooth, uniform surface. The general cleaning steps outlined above are perfect for smooth leather. Use a good quality leather cleaner, conditioner, and polish. Avoid excessive water, as it can leave marks on smooth leather.
Full-Grain and Top-Grain Leather
These are considered the highest quality leathers, retaining the natural grain and markings. They are durable and age beautifully. The cleaning process is the same as for smooth leather, but with these premium materials, investing in high-quality conditioners and polishes will yield even better results and enhance their natural character over time.
Suede and Nubuck
These leathers have a napped, velvety texture. They are much more delicate and require a different cleaning approach. Do not use water, conditioners, or polishes meant for smooth leather. Instead, use a suede brush to remove dirt and a suede eraser for stains. For tougher stains, specialized suede cleaners are available. Always brush in one direction to maintain the nap.
Patent Leather
Patent leather has a high-gloss, plastic-like coating. Cleaning is usually straightforward: wipe with a damp cloth to remove dust and smudges. For tougher marks, use a mild soap and water solution, then dry thoroughly. A bit of petroleum jelly or a specialized patent leather cleaner can restore shine. Avoid conditioners and polishes intended for regular leather.
Here’s a quick comparison of cleaning approaches:
| Leather Type | Recommended Cleaner | Conditioner/Polish | Key Tool | Caution |
|---|---|---|---|---|
| Smooth Leather | Leather Cleaner | Leather Conditioner/Cream, Shoe Polish | Soft Cloth, Buffing Brush | Avoid excessive water |
| Suede/Nubuck | Suede Cleaner (dry) | None (use suede protector) | Suede Brush, Suede Eraser | Never use water or regular leather products |
| Patent Leather | Damp cloth, mild soap | Patent Leather Cleaner/Petroleum Jelly | Soft Cloth | Avoid regular leather conditioners |
Dealing with Common Leather Shoe Problems
Even with regular care, you might encounter specific issues. Knowing how to address them can save your shoes from permanent damage.
Scuffs and Scratches
For minor scuffs on smooth leather, the shoe polish itself can often hide them. Apply polish over the affected area and buff well. For deeper scratches, a leather repair kit might be necessary, or you can try using a bit of leather filler. Always try to match the color precisely.
Water Stains
Water stains can be tricky. If caught quickly on smooth leather, gently wipe the entire shoe with a slightly damp cloth to create an even moisture level, then let it air dry naturally away from direct heat. Once dry, condition the leather. For stubborn water stains, specialized leather cleaners are available.
Salt Stains (Winter Roads)
Salt can be very damaging to leather. Mix equal parts white vinegar and water. Dampen a cloth with this solution and gently wipe away the salt stains. Follow up with a leather cleaner, conditioner, and then polish as usual. This process helps neutralize the salt.
Odor Control
If your shoes develop an odor, first ensure they are completely dry. You can place baking soda inside them overnight to absorb moisture and odor. Cedar shoe trees also help absorb moisture and keep their shape. For persistent odors, a shoe deodorizer spray can be effective.
Pro Tips for Maintaining Your Leather Shoes
Beyond the basic cleaning routine, a few extra steps can make a big difference in keeping your leather shoes looking their best for years to come. These are the little secrets that shoe care experts swear by.
- Rotate Your Shoes: Avoid wearing the same pair of leather shoes every day. Giving them a day or two to air out and recover their shape between wears helps prevent premature wear and moisture buildup.
- Use Shoe Trees: Cedar shoe trees are excellent investments. They help absorb moisture and odors, maintain the shoe’s shape, and prevent creasing.
- Clean Spills Immediately: The faster you address a spill or stain, the easier it will be to remove. Blot up liquids immediately with a clean cloth.
- Store Properly: When not in use, store your leather shoes in a cool, dry place, ideally in dust bags or their original boxes to protect them from dust and light.
- Know When to Seek Professional Help: For very expensive shoes or severe damage, consider taking them to a professional cobbler or shoe repair shop.
Frequently Asked Questions About Cleaning Leather Shoes
Q1: How often should I clean my leather shoes?
For shoes worn regularly, a light cleaning and dusting after each wear is ideal. A deep clean with conditioner and polish should be done every 1-3 months, depending on wear and climate. For shoes worn less frequently, clean them before storing them and again before wearing them.
Q2: Can I use baby wipes to clean my leather shoes?
While baby wipes might seem convenient, they often contain chemicals that can dry out or damage the leather over time. It’s best to use products specifically designed for leather care, like dedicated leather cleaners and conditioners.
Q3: My leather shoes got wet. What should I do?
If your leather shoes get wet, stuff them with newspaper to absorb moisture and help them keep their shape. Let them air dry naturally, away from direct heat sources like radiators or sunlight, which can cause the leather to crack or warp. Once dry, condition them to restore moisture.
Q4: What’s the difference between shoe polish and shoe cream?
Shoe polish primarily adds color and shine and offers some protection. Shoe cream is more about conditioning and restoring color. It’s often more moisturizing. For best results, many people use cream first for conditioning, then polish for color and shine.
Q5: Can I use household products like olive oil for conditioning?
It’s generally not recommended to use household oils like olive oil. They can go rancid over time, attract dust, and alter the leather’s color or texture in undesirable ways. Stick to commercially produced leather conditioners designed for footwear.
Q6: How do I remove white marks or scuffs from my leather shoes?
For smooth leather, try gently rubbing the scuff with your finger or a soft cloth; the natural oils from your skin might be enough. If not, apply a small amount of leather conditioner or shoe cream to the affected area and buff. For more stubborn marks, a leather cleaner can help lift them.
Conclusion
Keeping your leather shoes looking their best is entirely achievable with a little knowledge and consistent effort. By following these steps – from gathering the right tools to understanding the nuances of different leather types and addressing common issues – you can ensure your footwear maintains its elegance and durability. Remember that regular cleaning, conditioning, and polishing are not just about aesthetics; they are crucial for the longevity of your beloved leather shoes. With this guide, you’re well-equipped to give your leather shoes the effortless shine they deserve, making them a stylish asset for years to come.